Hello Magento buddies,
Magento is an ecommerce platform built on open source technology which provides online merchants with a flexible shopping cart system, as well as control over the look, content and functionality of their online store.
And also it is a high-performant, scalable solution with powerful out of the box functionality and a large community built around it that continues to add new features.
Here’s a step-by-step procedure that will hopefully save you a headache. Please note that I run XAMPP, so this tutorial is written for XAMPP only and is on Windows.
DON’T MISS THE UPDATE Magento 2 Installation.
To install Magento, you should follow these instruction:
- Webserver setup and PHP configuration.
- Magento Installation on localhost with XAMPP.
Webserver setup and PHP configuration in Magento installation
Step 1: Set up webserver
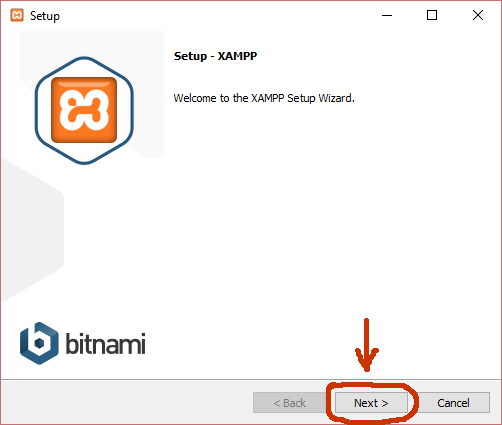
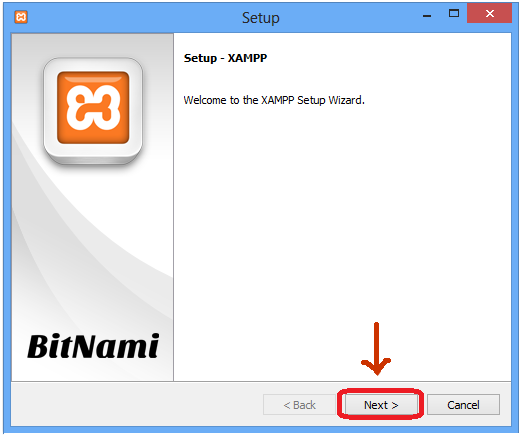
1. May be you have the latest version installed XAMPP. or if you can download from Here.
2. After downloading XAMPP, please click on the file to install it on your computer.
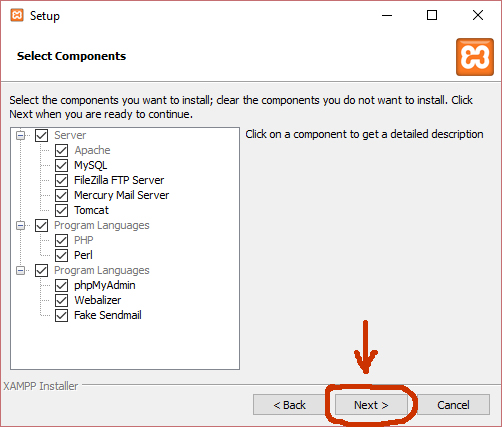
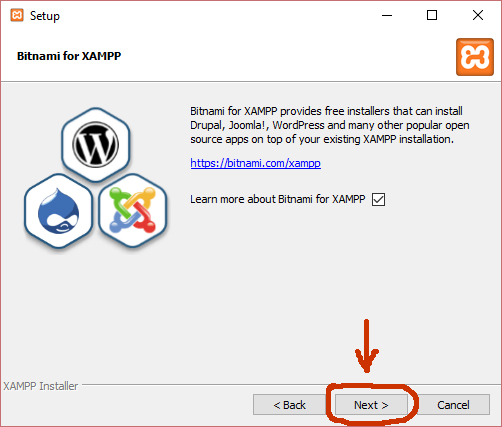
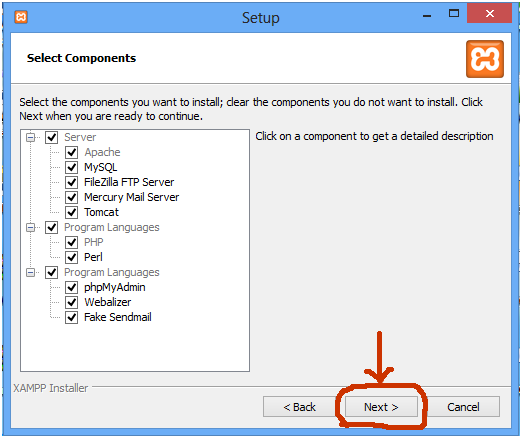
3. Select Components:
Plase select the same as in the image.
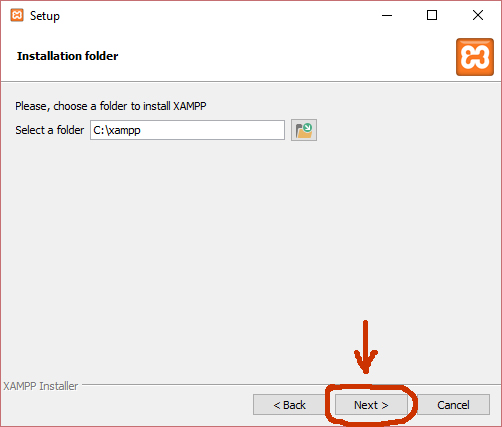
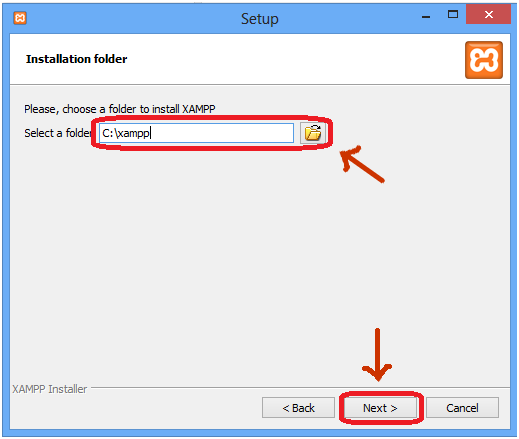
4. Choose Install Location: XAMPP default location is C:\xampp. If you need to change the destination, click on the Browse botton to change your destination for XAMPP program and then click on Next to go to the next step.
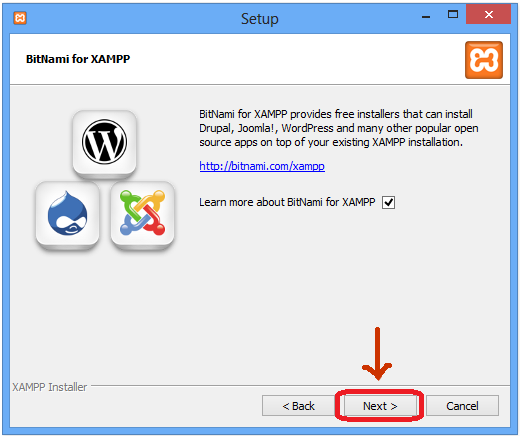
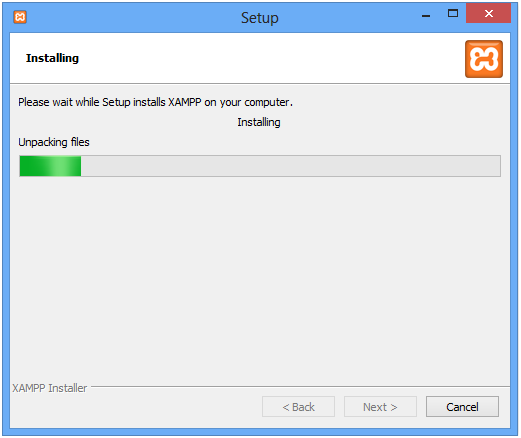
5. Start installing XAMPP.
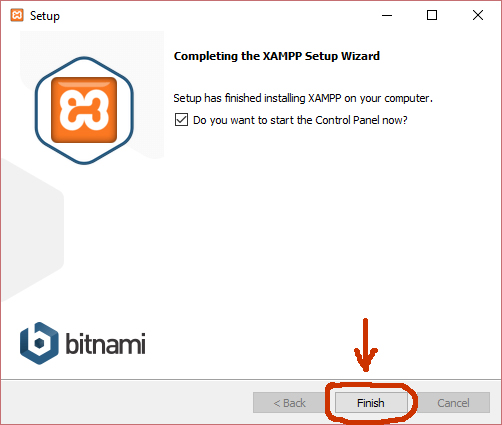
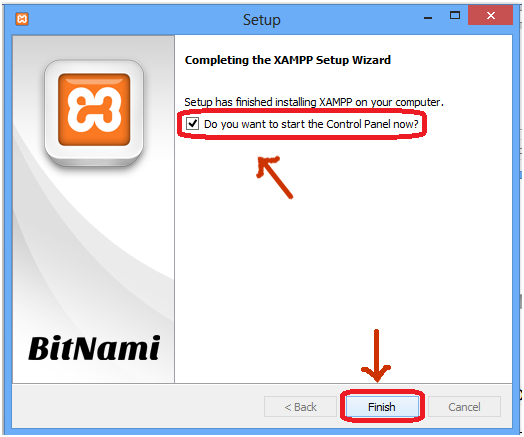
6. Complete the XAMPP setup.
You will see the setup asks: “Do you want to start the Control Panel now?” Click on the Finish button to end this setup and XAMPP prompt to use.
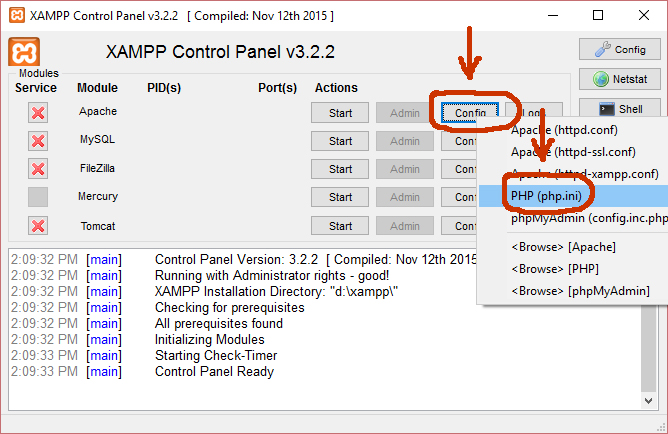
Step 2: Config PHP

In the XAMPP Control Panel, you can see the row Apache, please click on the Config button and click PHP(php.ini), then remove comment “;” in some rows:
| extension=php_curl.dll extension=php_mcrypt.dll extension=php_pdo_sqlite.dll extension=php_pdo_mysql.dll extension=php_soap.dll |
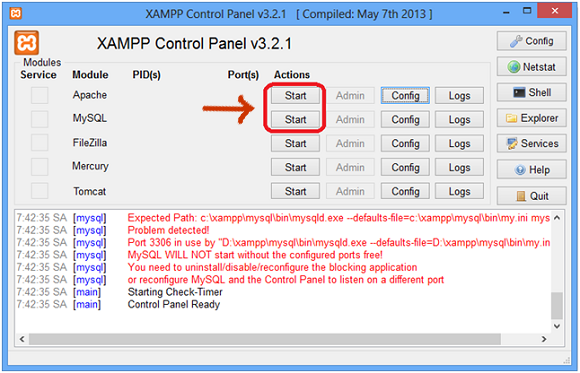
After that, please click on the Start button on 2 rows Apache and MySQL to start them:
Step 3: Config host file
Open the file C:\Windows\System32\drivers\etc\hosts. Add the following code to the last row of the file:
| 127.0.0.1 www.localhost.com |
This is the first part of Magento Installation, now take heed of next part of this guide.
Magento Installation on localhost with XAMPP
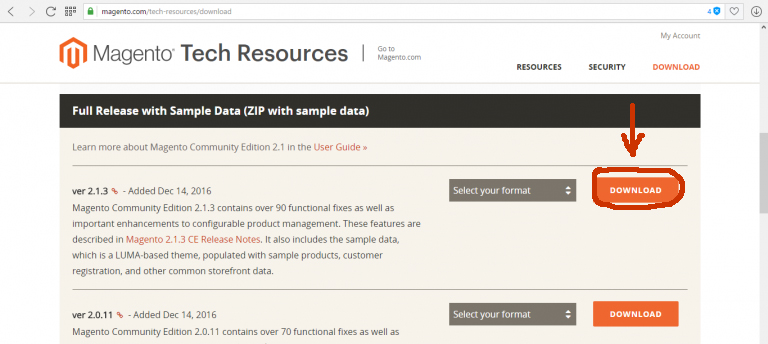
Step 1: Download magento and sample data
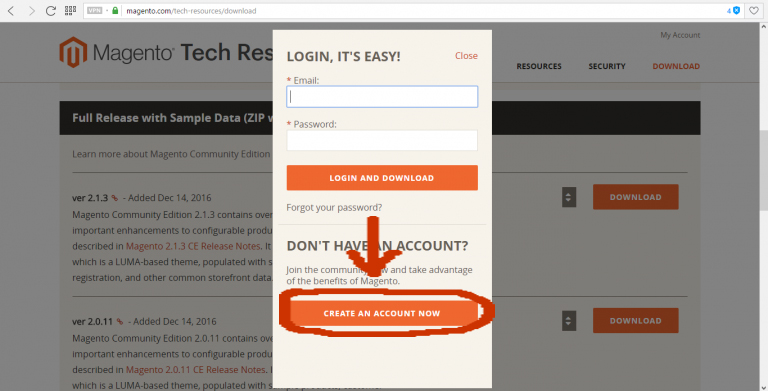
Using a browser, download the latest full released archive file from Here.
The archive file is available in .zip, .tar.gz, and .tar.bz2 formats for downloading (a zipped archive contains exactly the same files and is provided in different formats just for your convenience).
On your computer, extract Magento from the downloaded archive. Magento has a folder named magento containing all of the Magento files which will be created, for example, data has a file called “magento_sample_data_for_1.6.1.0.sql” and a folder called “media“.
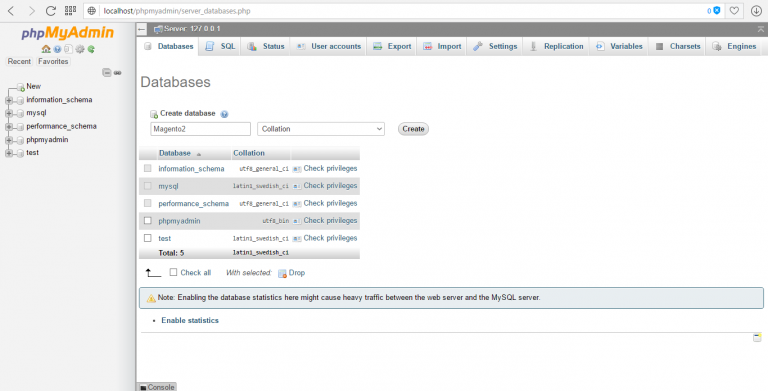
Step 2: Import the Magento sample data into an empty store database
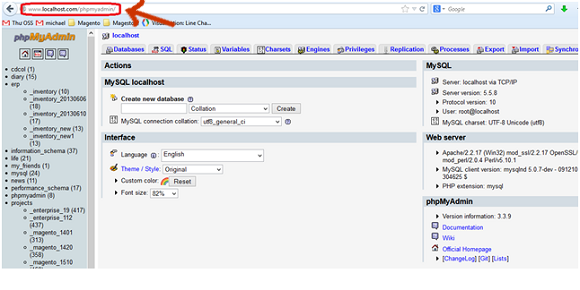
Create a new empty database for Magento.
Using a browser, enter the url: to create a new empty database by using phpMyAdmin:
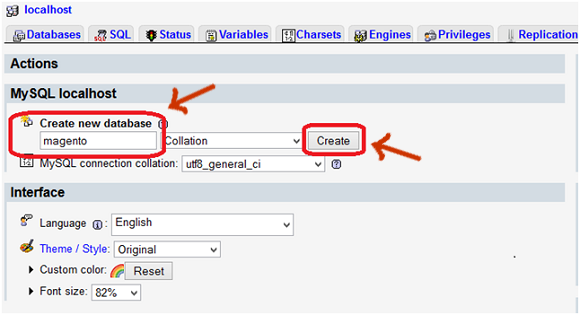
Create an empty database named “magento”:
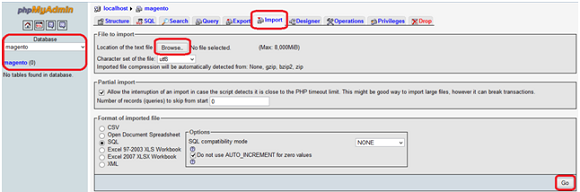
Import the sample data sql file (magento_sample_data_for_1.6.1.0.sql) into your empty Magento database:
Use the import function of your database management tool to import the data in the .sql file into your empty database.
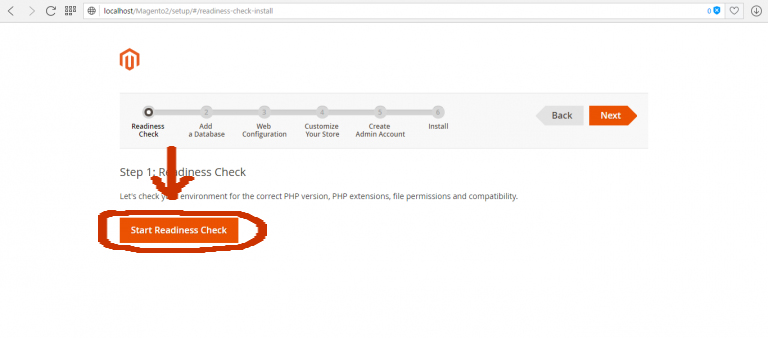
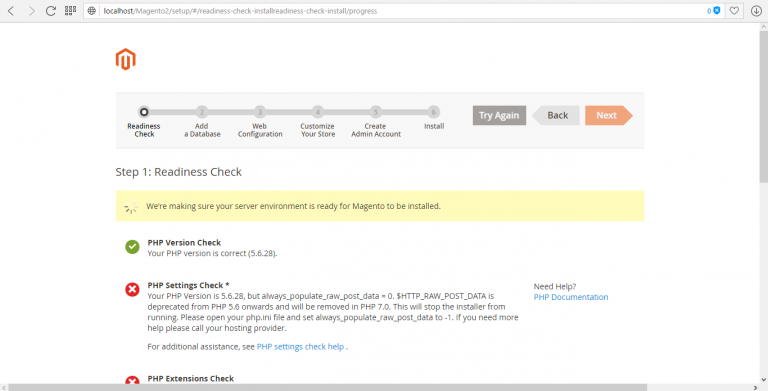
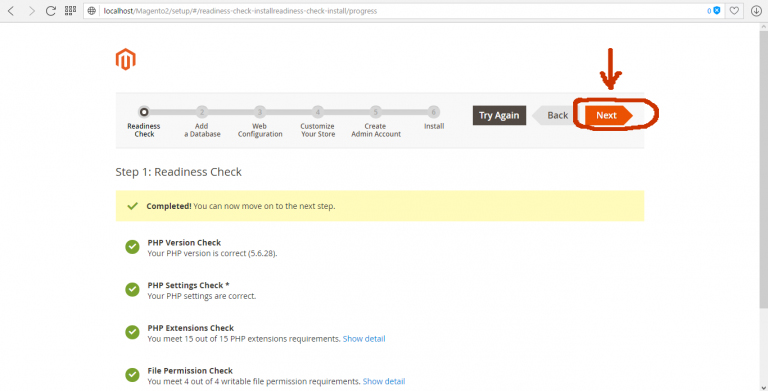
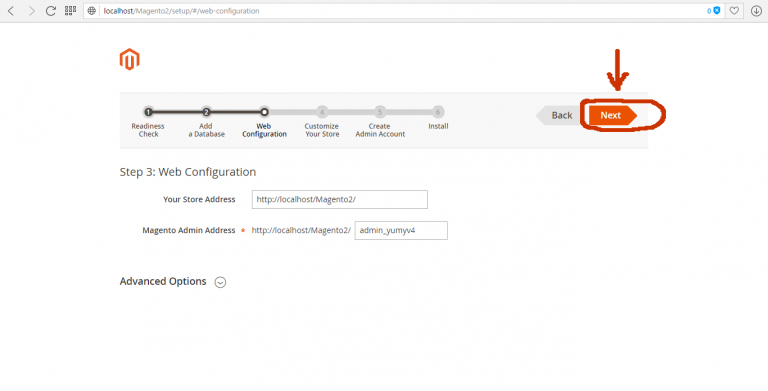
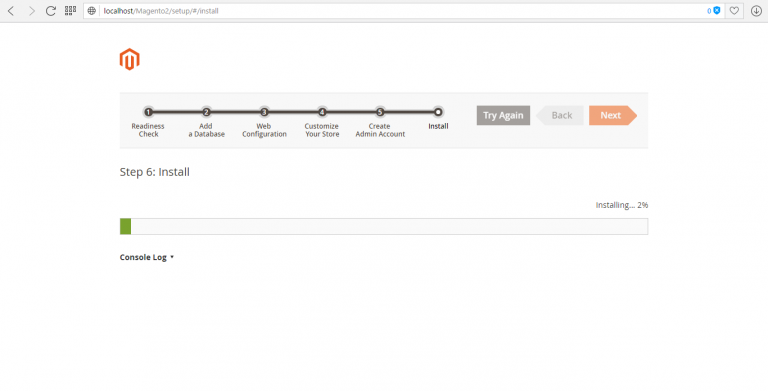
Step 3: Installing Magento
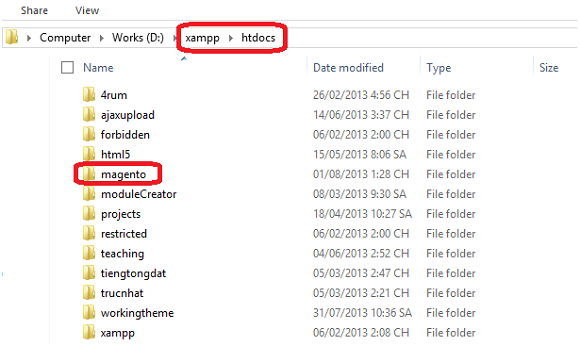
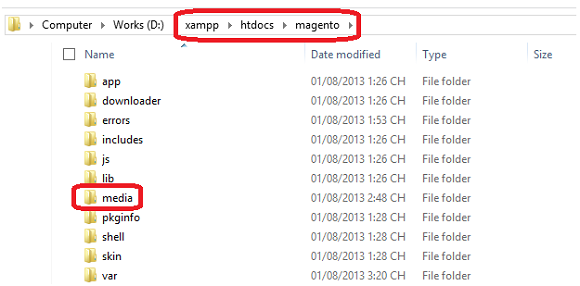
Finally, we can start installing Magento on our local machine. First, restart your Apache and MySQL servers. If you didn’t stop them before and have been editing them while they were on, just stop them now and restart them. Copy magento folder after extracting Magento from the downloaded archive to xampp\htdocs:
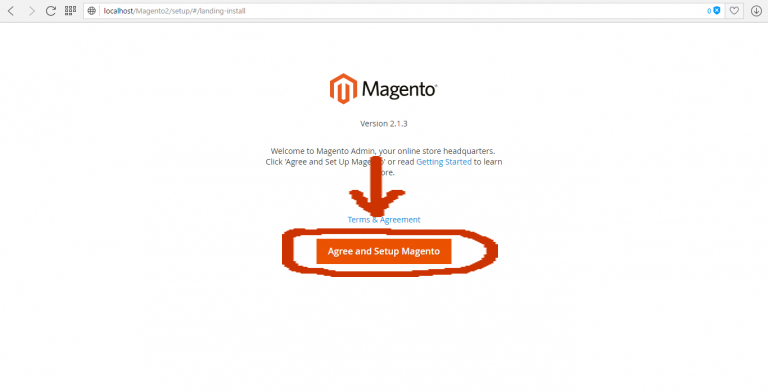
Using a browser, enter the url: to start installing magento:
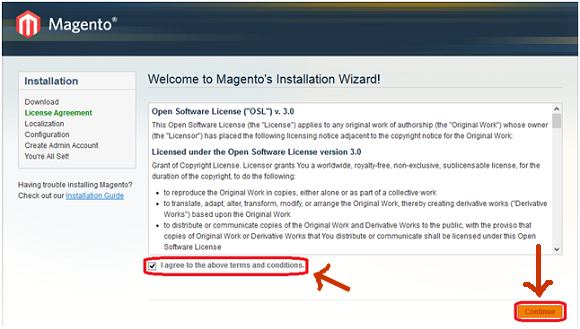
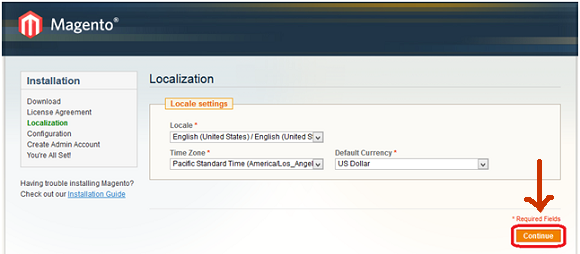
Tick the checkbox “I agree to the above terms and conditions” and click on the Continue button to continue. Then change the Time Zone, Locale and Currency and continue:
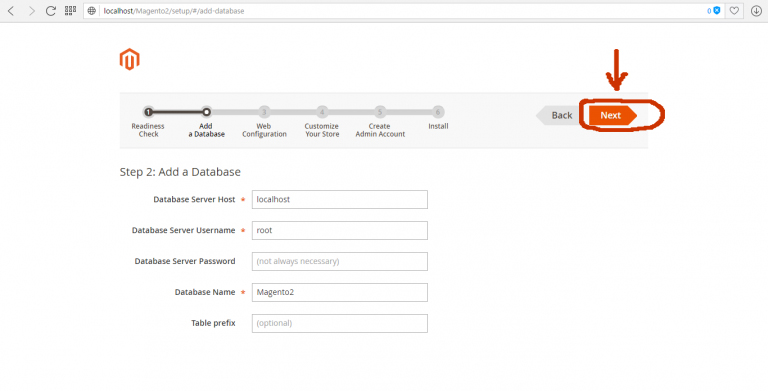
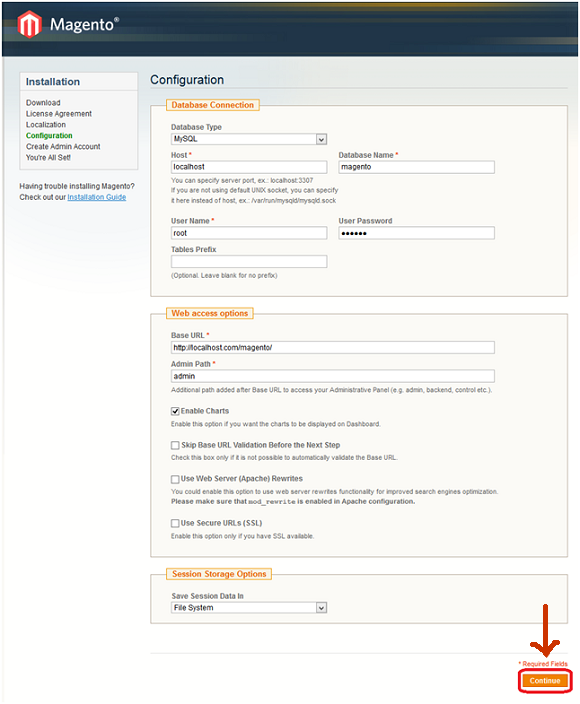
Next, please find the database: Host, Database Name, User Name and User Password:
Next, please fill in the Personal Information: First Name, Last Name and Email
And fill up the Login Information to use for admin (backend): Username, Password and Confirm Password
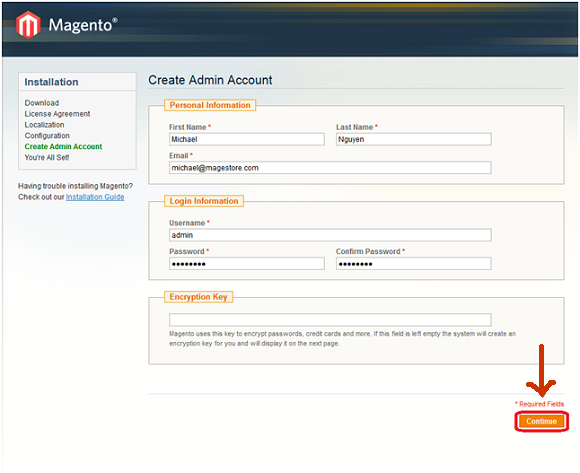
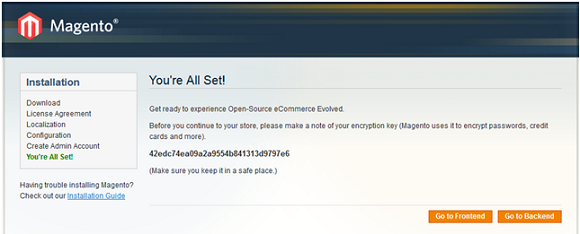
Also, you don’t need to worry about filling in the Encryption Key. Magento will generate a key for you on the next page (just like it says). It’s highly recommended that you write that key down somewhere so that you won’t forget it. Once you’ve finished filling out the form, click on the “Continue” button and write down your encryption key!
After you get your encryption key locked away in a fireproof safe, you can choose to go to Frontend or Backend of your new Magento installation.
Step 4: Copy media to source
Copy media folder after extracting the Sample data from the downloaded archive to xampp/htdocs/magento
Step 5: Refresh cache and reindex data
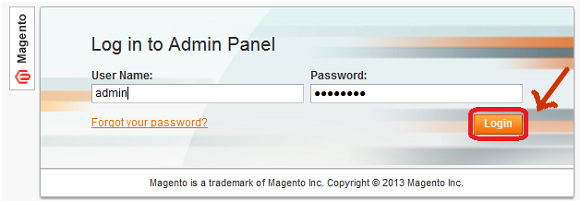
Please click the “Go to Backend” button in step 3, you can see the admin login page, you need to fill up Username and Password for admin as in step 6:
Reindex data:
Go to the admin page and then please see the System menu, click on Index Management:
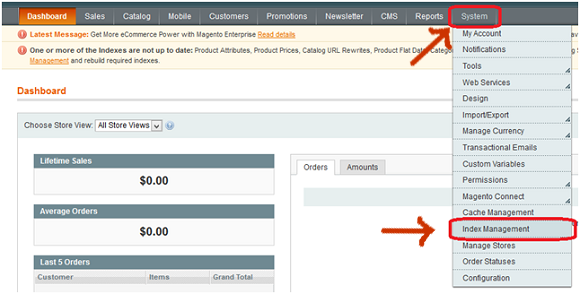
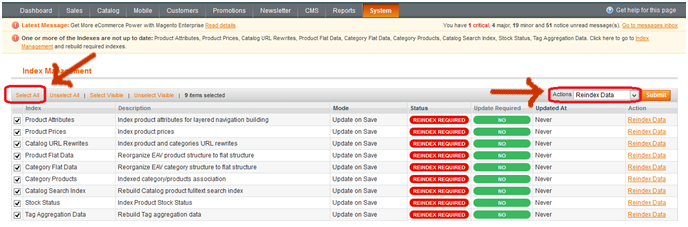
You can see the Index Management page:
First, please click on Select All. For Action field, please select Reindex Data before clicking on the Submit button:
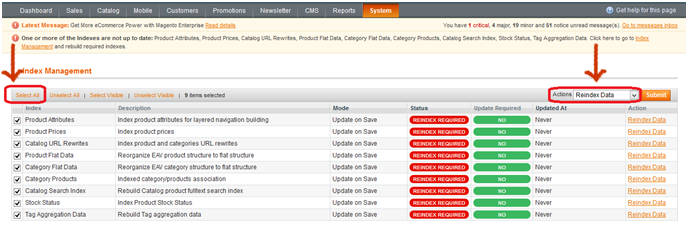
After the system reindex data, a success message will be shown:

Refresh the cache:
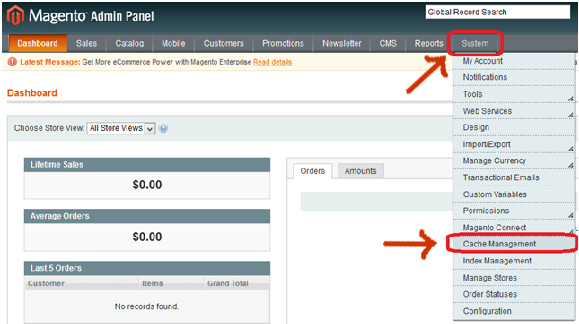
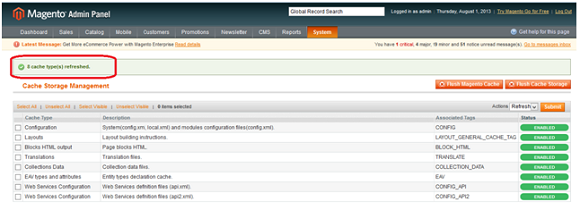
Go to the admin page, notice the System menu, please click on Cache Management:
Please click Select All. For action field, please select Refresh and then click on the Submit button:
After the system reindex data, a success message will be shown:
Step 6: Go to Frontend
Clicking on the “Go to Frontend” button in step 3, you can see the magento site:

Hope that this post will help you to successfully install Magento – a great ecommerce platform.